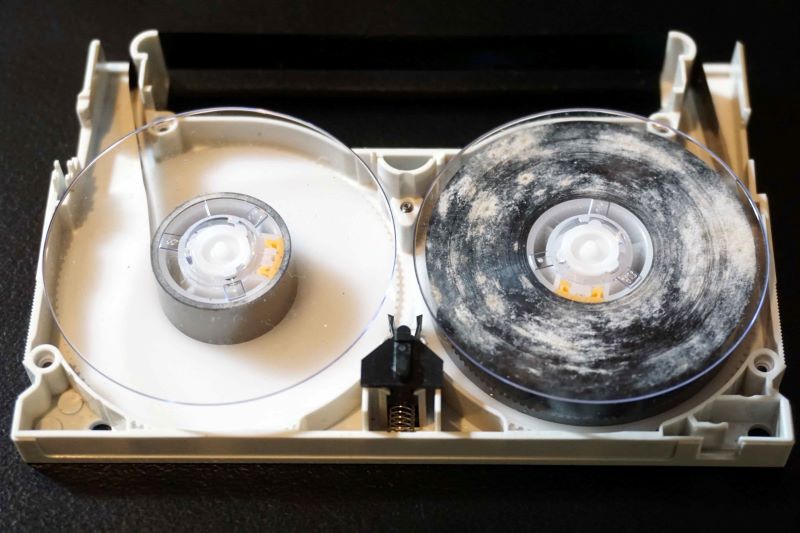
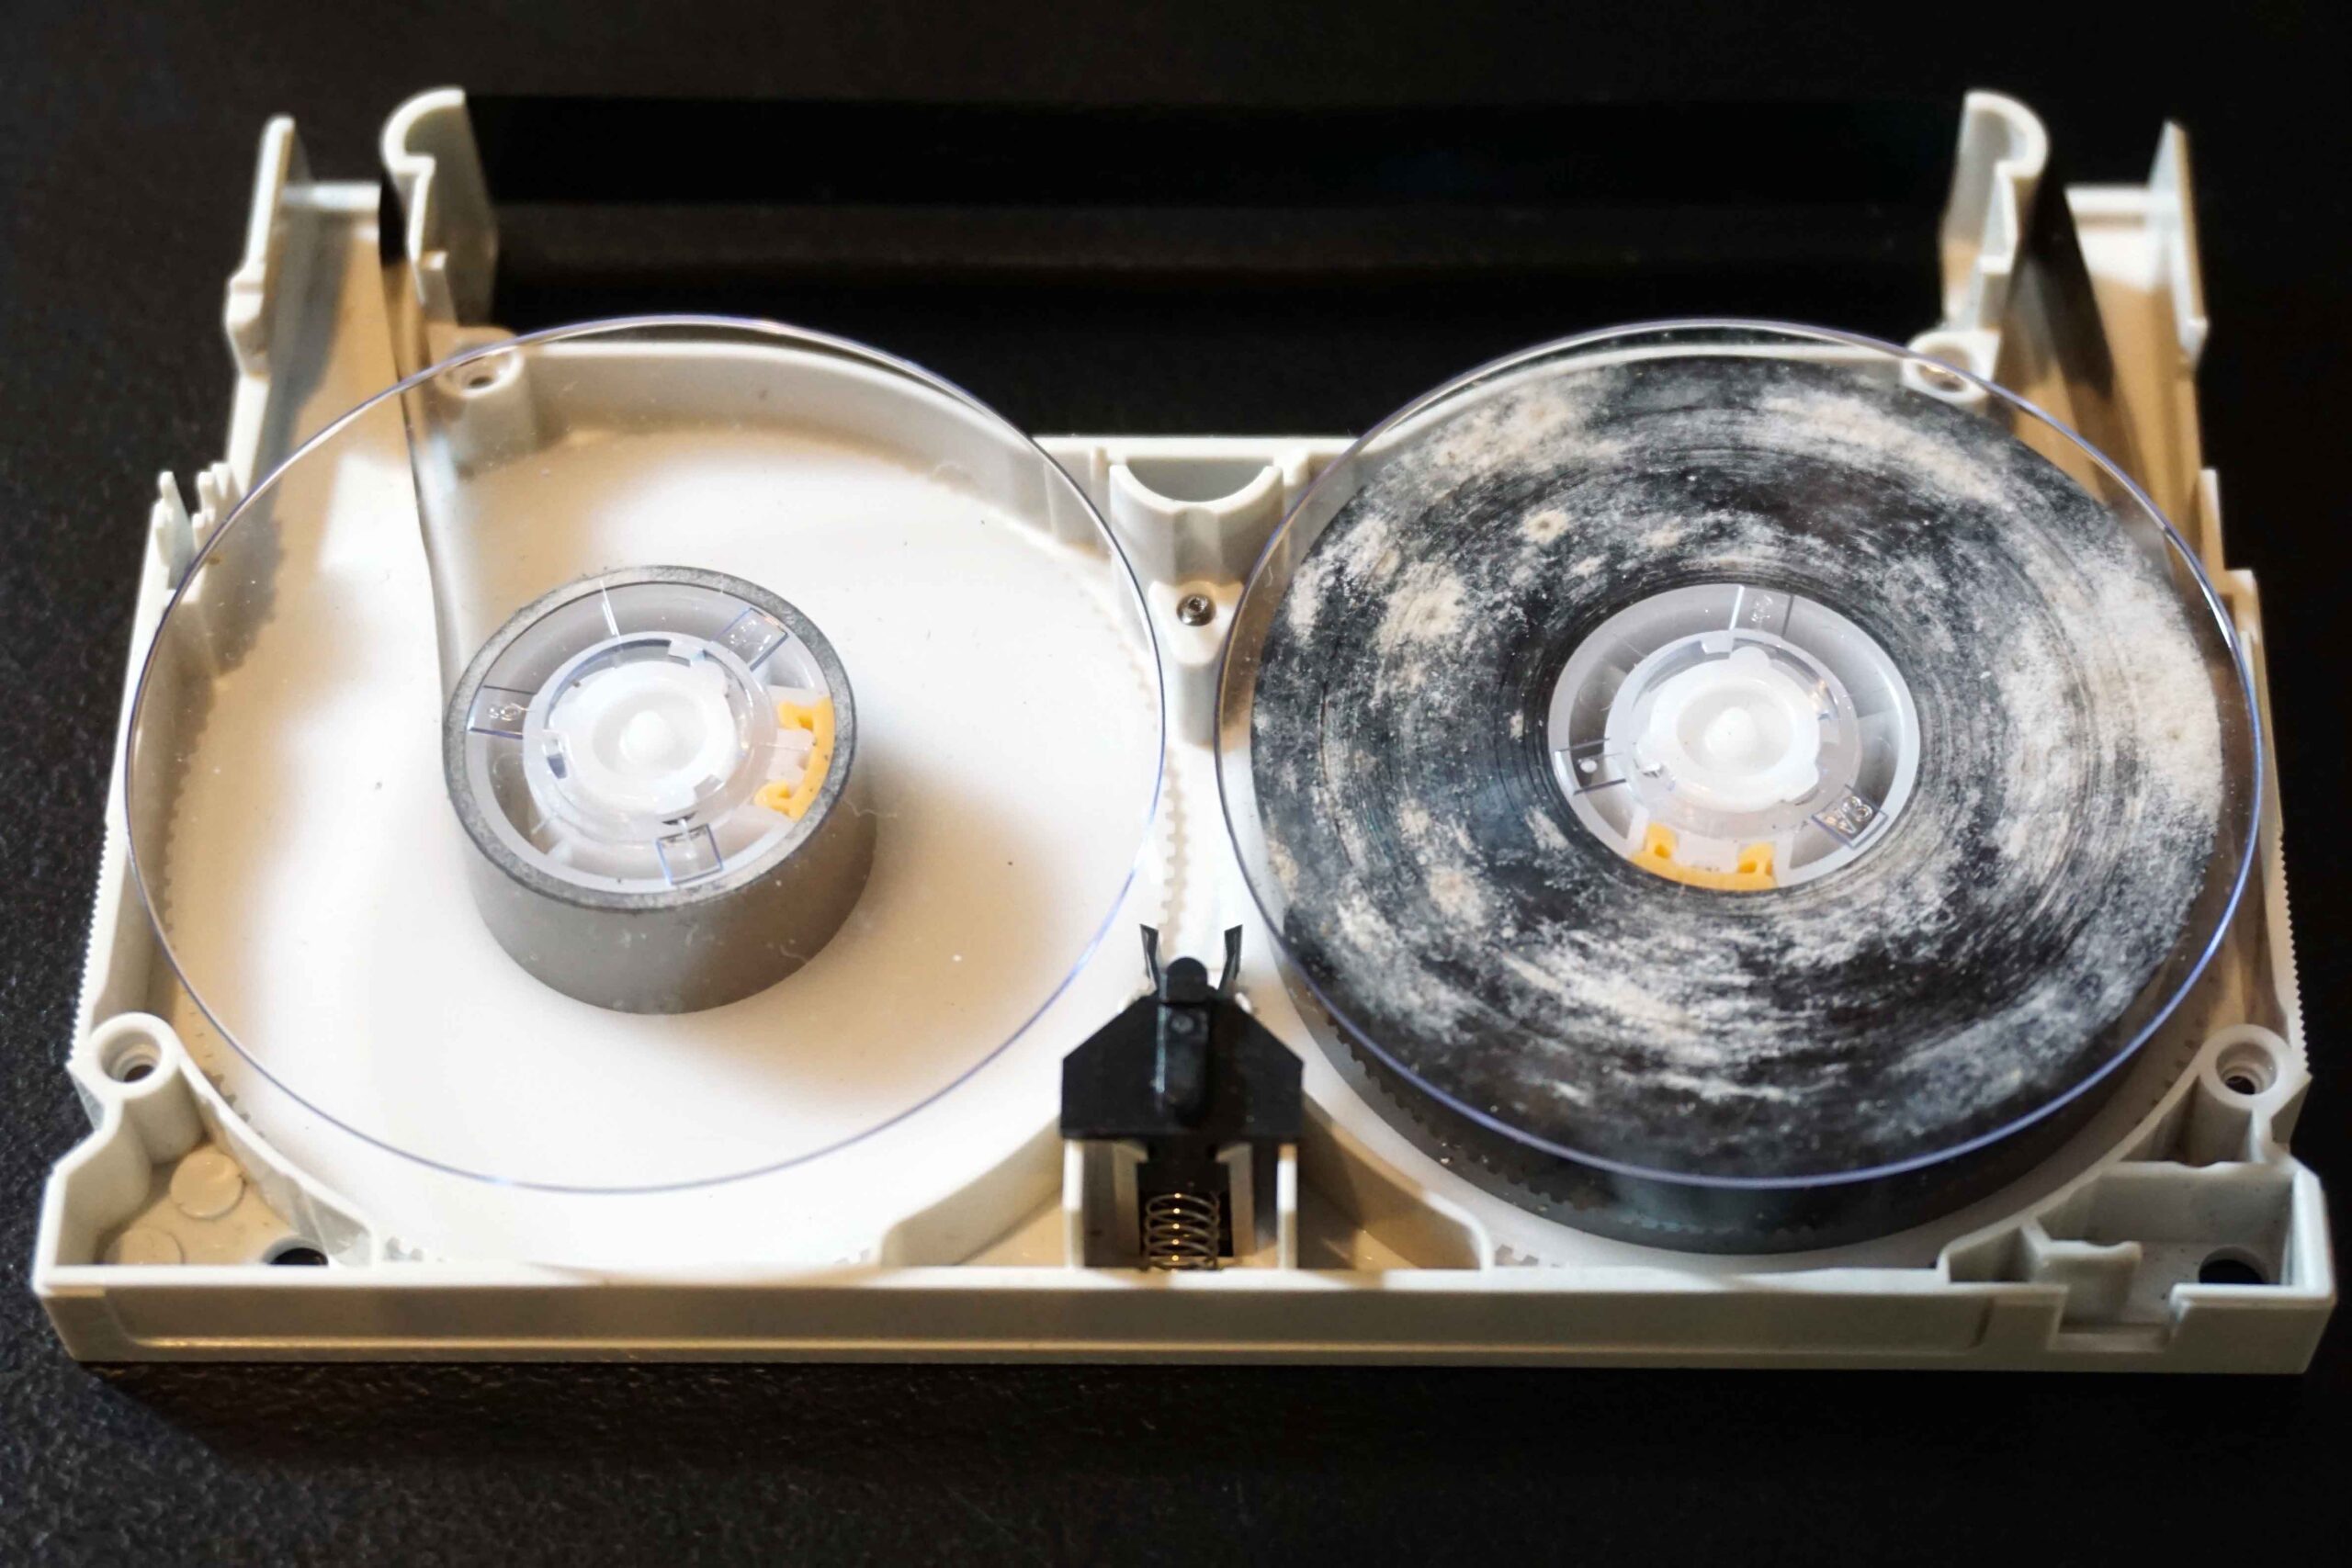
In most cases a tape like this would go straight to the bin.
Not with us – we successfully recovered every inch of this tape.
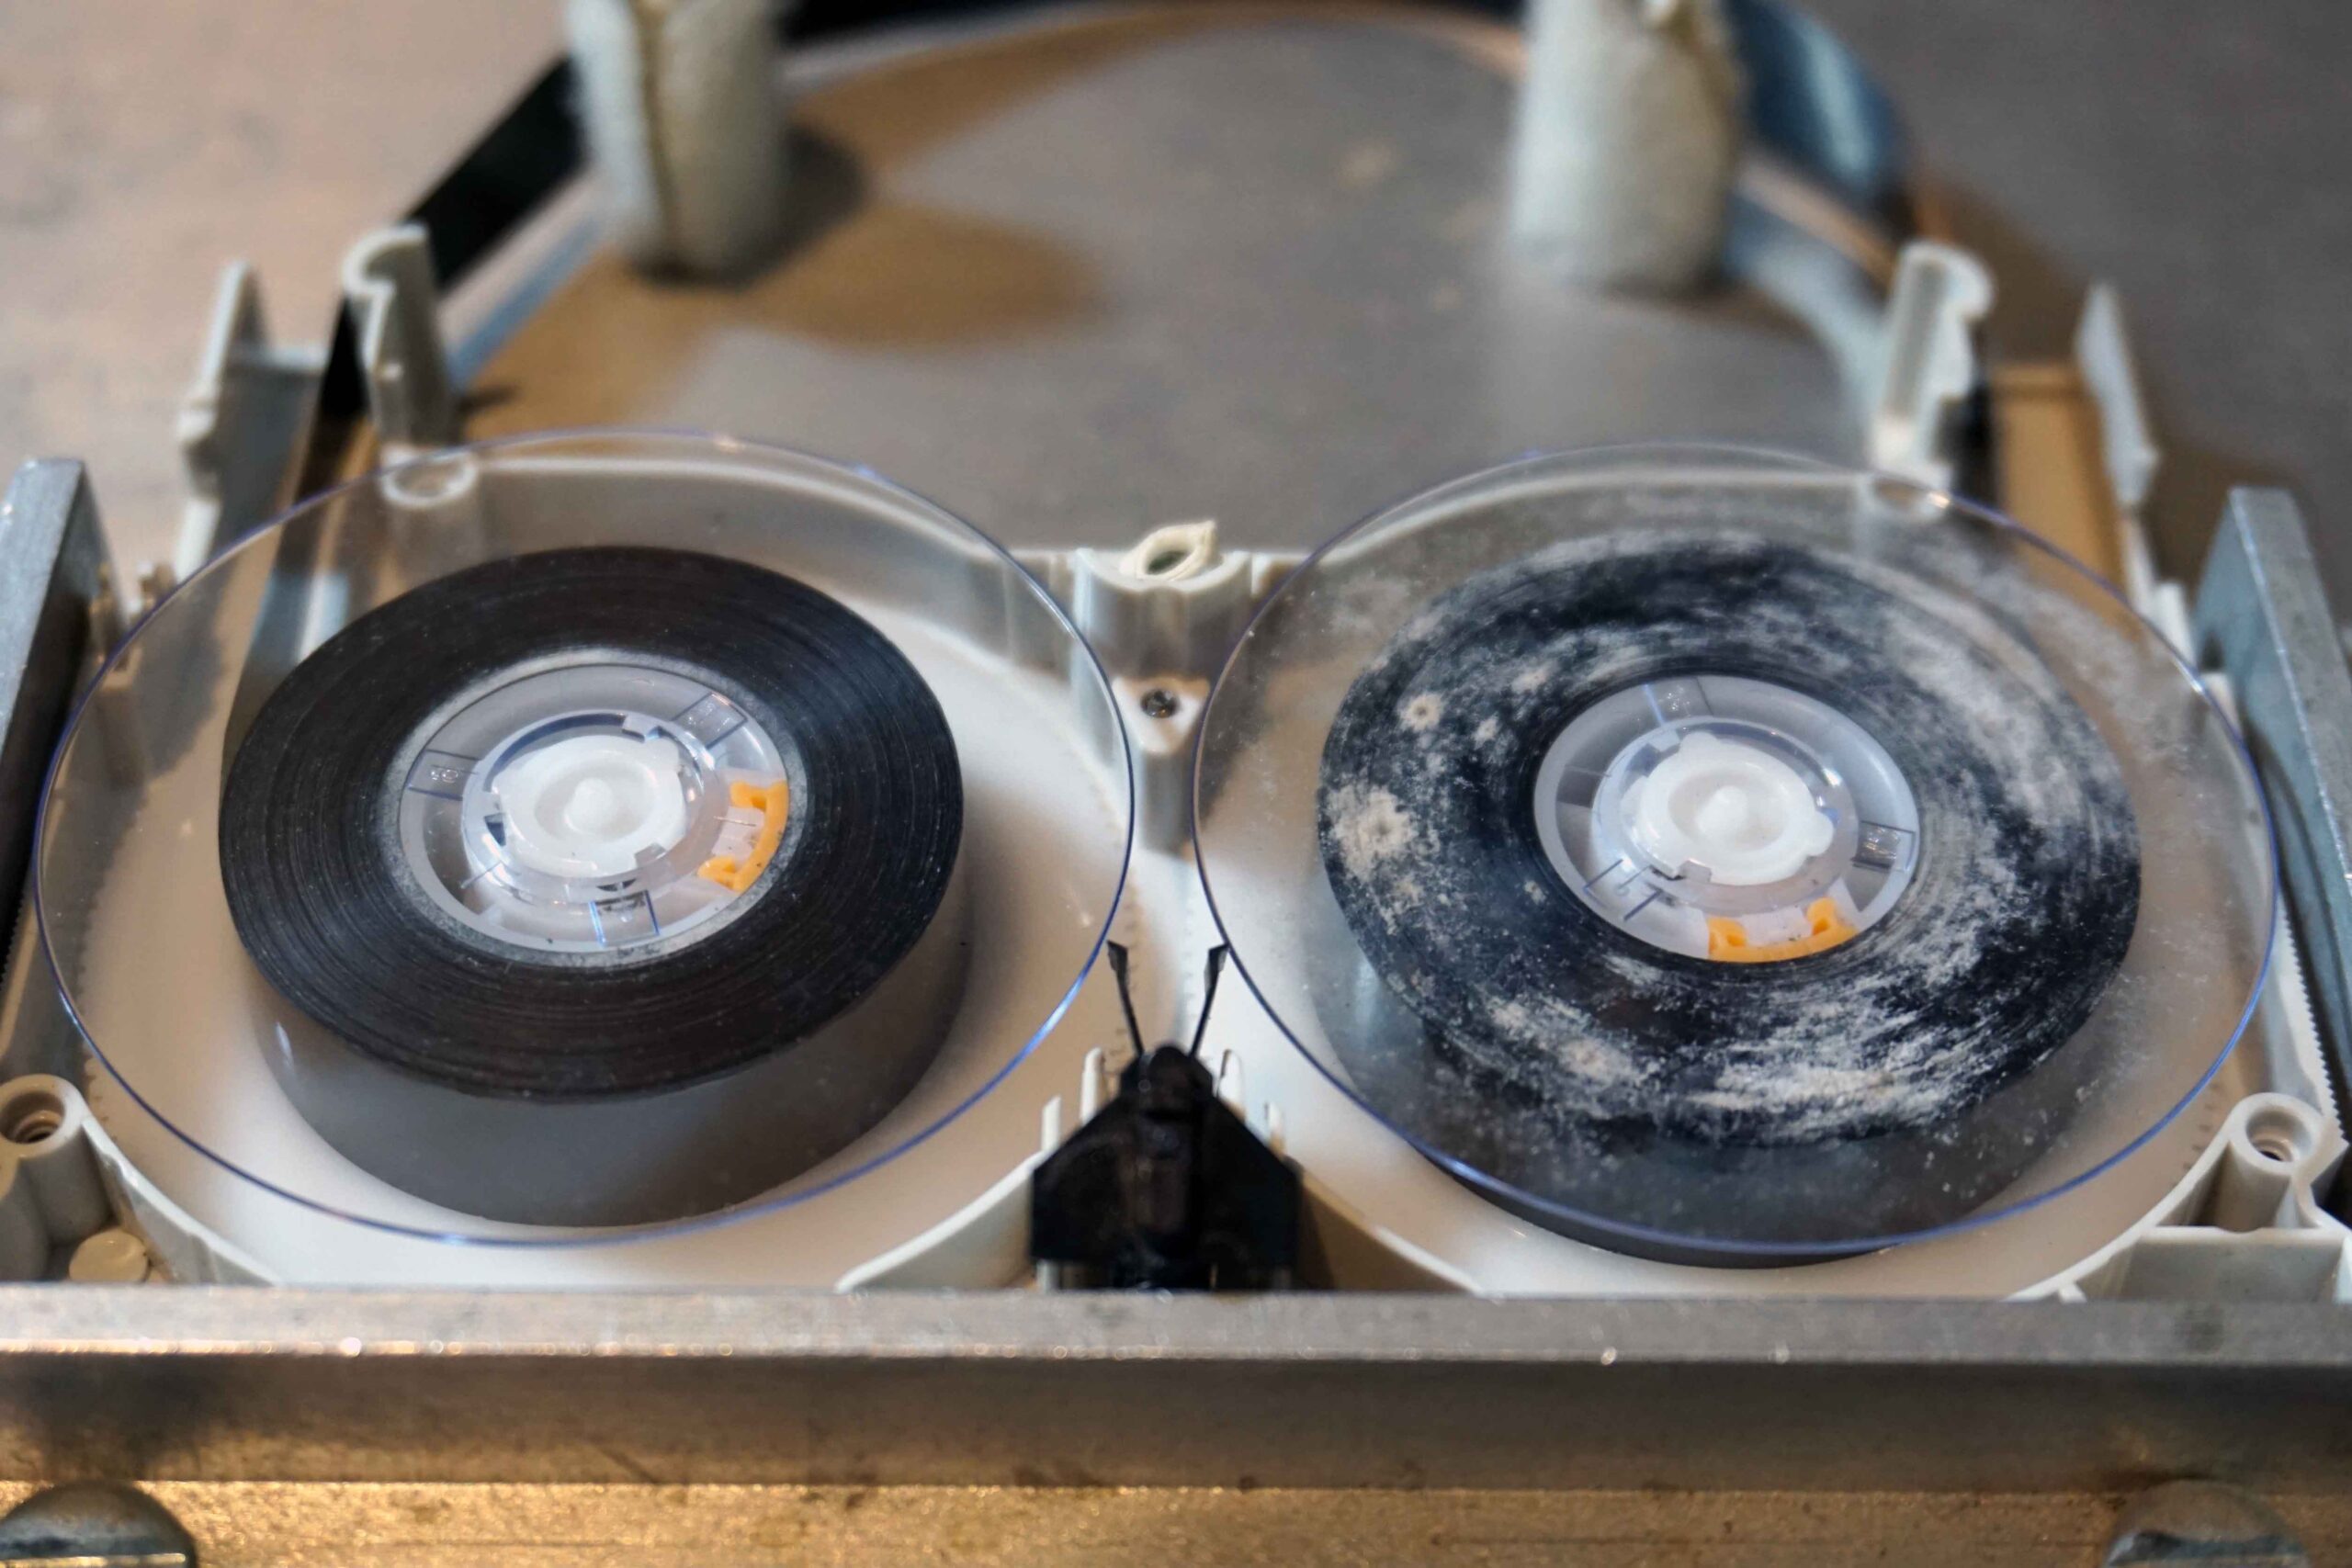
This tape was treated using various methods we’ve developed over many years of doing this work.
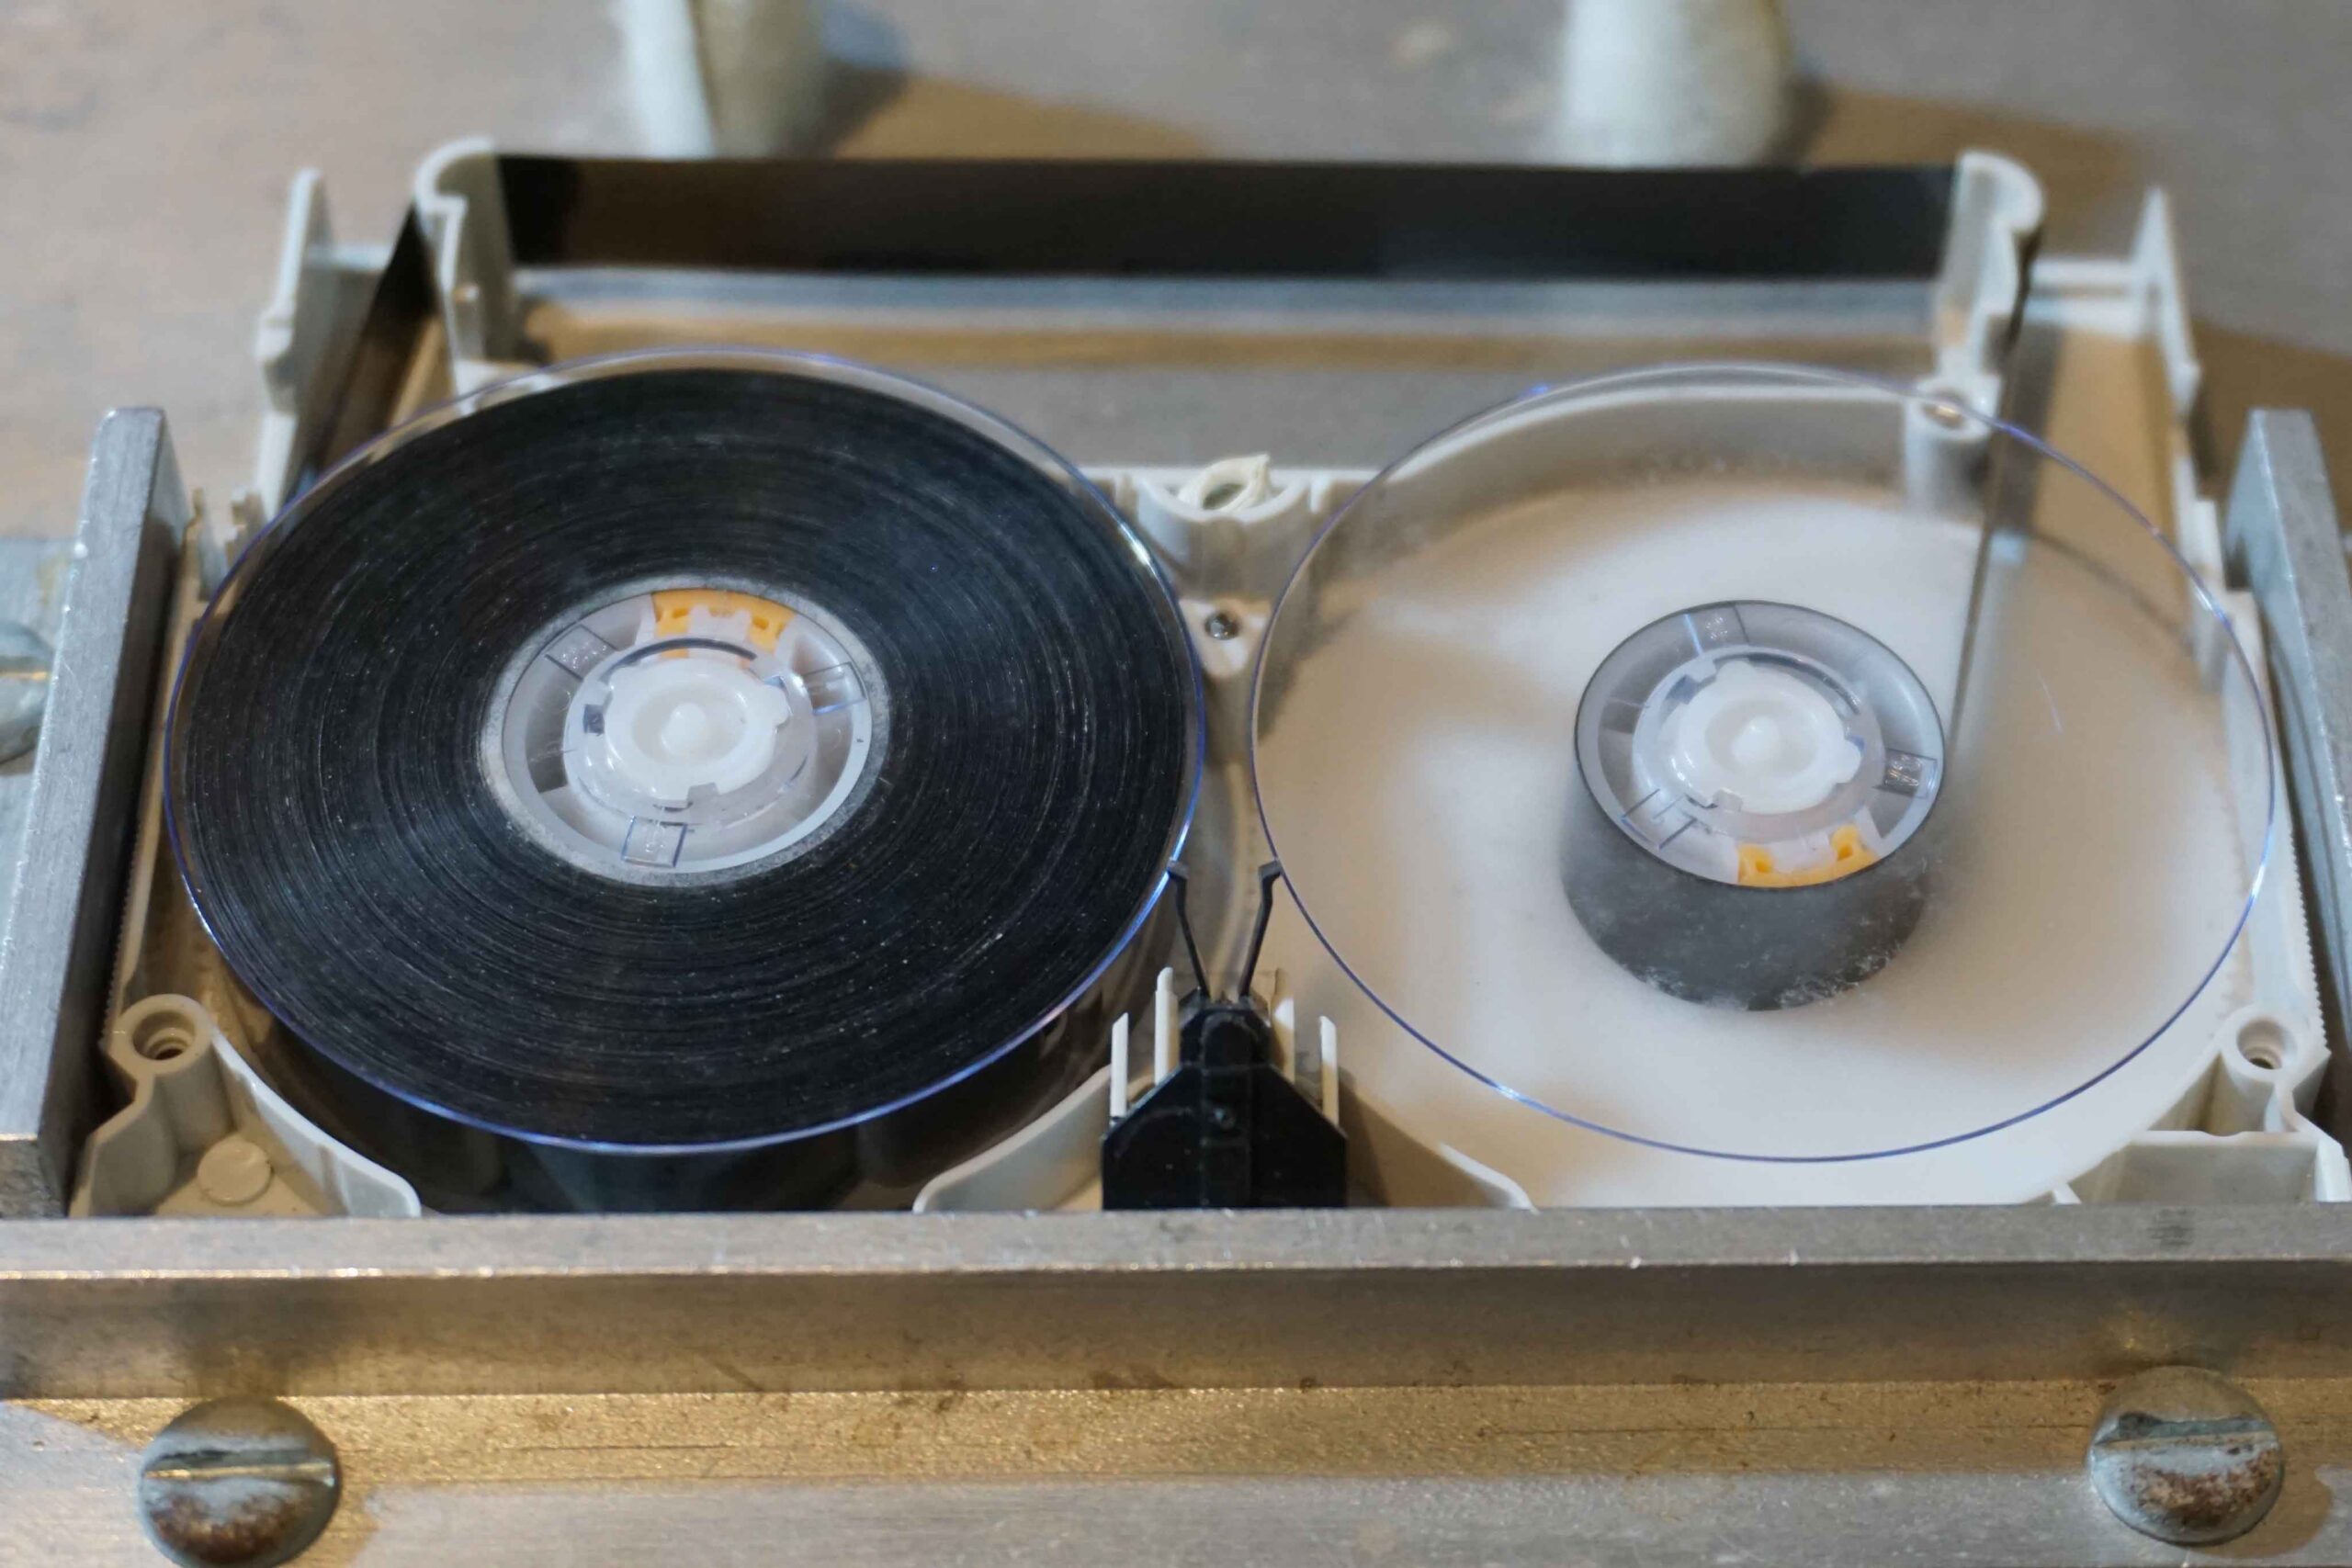
So how did we do it without giving too much away – we baked the tape for an extended period of time at a constant temperature and humidity level before embarking on the pain staking process of hand cleaning and winding through our custom cleaning jigs.
The result – 100% recovery of all video content from the tape, and yes it was recorded end to end 92 minutes long.
If you have tapes that look like this, chances are they are recoverable despite what you may have been told by others.
DVD Conversions Limited specialize in all video format transfers and offer a cassette clean and recovery service for tapes we are converting.